
How to Set Up RetroArch, The Ultimate All-In-One Retro Games Emulator
Do you wish you could peruse a monstrous assortment of retro games from your sofa, without interfacing a lot of frameworks or cobble together different emulators? RetroArch makes it conceivable. This across-the-board imitating station can run practically any retro game possible and deals with Windows, Mac, and Linux PCs.
RetroArch is great, however, it’s somewhat precarious to set up. Try not to freeze, however, in light of the fact that it’s a long way from unimaginable. Here’s the means by which to set up RetroArch on your home theater PC, or some other PC, so you can copy all your number one retro games in a single fell swoop. We’ve told you the best way to play your #1 retro games on your Windows PC, and those apparatuses still work. RetroArch makes things simpler by placing every one of your games in a similar spot and giving you a love seat prepared interface for perusing your assortment. Regardless of whether you’re a Nintendo, PlayStation, Sega, or even DOS enthusiast, you can add your top picks to one brought together menu.
Step One: Download RetroArch
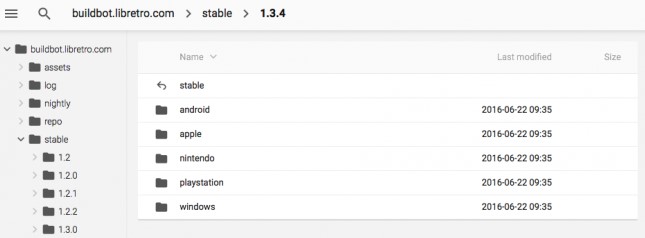
Head to the Libretro landing page, then, at that point, click the “Downloads” connect in the upper ideal menu. Here you’ll track down the most recent delivery for your foundation. For instance, in case you’re a Windows client, click the “Windows” envelope.
Peruse and you’ll track down a 7-Zip chronicle containing Retroarch. You’ll have to download and introduce 7-Zip in the event that you haven’t as of now, to open the file. Drag the substance of this file to an organizer, and put that envelope anyplace you’d like. I put mine in “D:\Retroarch”, yet it’s dependent upon you.
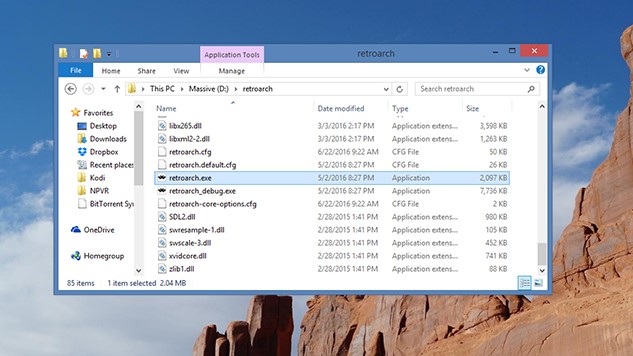
To dispatch RetroArch, just double-tap “retroarch.exe”.
Read Also: How To Get Izanagi’s Burden in Destiny 2
Step Two: Configure Your Controllers
The RetroArch UI can be overpowering from the outset, tossing you straightforwardly into a menu of design choices. Relax: it’s easier than it looks.
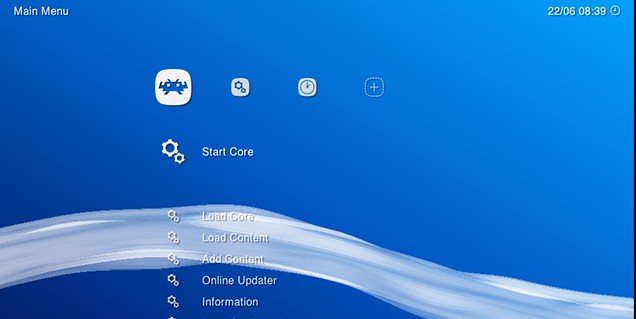
The main thing you need to know is your mouse isn’t valuable here. Snap any place you don’t need anything, will occur. All things being equal, peruse the menu utilizing your bolt keys. Here and there looks through the rundown; right and left leaps starting with one menu then onto the next, showed by the symbols at the highest point of the screen. “Enter” allows you to choose a menu thing, “Delete” allows you to bounce back a level.
Obviously, assuming you need to peruse your assortment from the love seat with a gamepad, the principal thing you will need to do is set up your regulator to work with RetroArch. In our tests, a Xbox 360 regulator worked out-of-the-crate, however in the event that your regulator isn’t attempting to peruse the menu–or you need to design the buttons in an unexpected way we can change that.
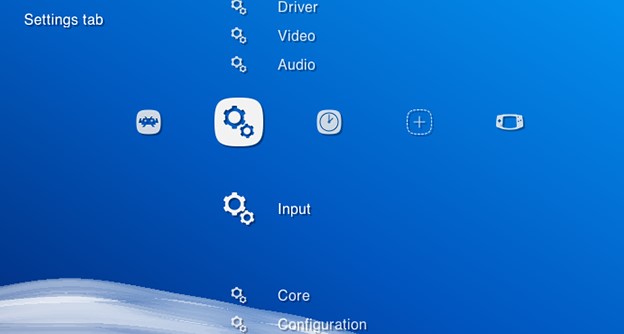
With your console, head to the Settings menu, which is addressed at the highest point of the screen by two pinion wheels. Look down to “Information”, then, at that point, hit Enter.
Presently look down to “Info User 1 Binds”, and look down to “Client 1 Bind All”. Snap that and you can plan buttons to your gamepad.
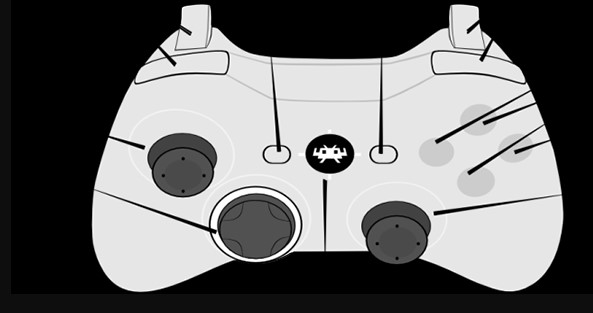
The RetroArch ties work across all emulators, and are intended to reliably copy the gamepads that accompanied the proper frameworks. You ought to, in a perfect world, arrange your joystick so the buttons line up with those in this picture:
Do that, and most games should play precisely the manner in which you recall, however you can arrange things distinctively on the off chance that you like. Whenever this is set up, you can explore the RetroArch menus utilizing just your gamepad, so set the console aside on the off chance that you don’t need it.
In case you’re setting up a multiplayer rig, rehash this cycle for your regulators in general. Everything will work out just fine, I guarantee.
Read Also: Why Razer’s New Finger Sleeves Aren’t as Dumb as They Sound
Step Three: Download Emulators (aka “Cores”)
Since you’ve figured out how to explore RetroArch, it’s an ideal opportunity to gain proficiency with a couple of ideas. RetroArch isn’t itself an emulator; all things being equal, it’s a front-end equipped for running a wide number of emulators. These singular emulators are called centers inside RetroArch, and you will have to download the proper centers for the games you need to run.
However, don’t start up your program: you can introduce centers from inside RetroArch. Head back to the primary section in RetroArch, then, at that point, look down to “Online Updater”.
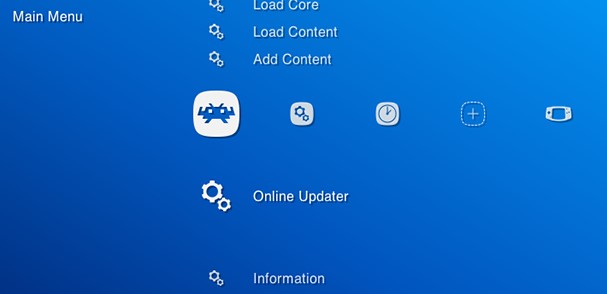
Select “Center Updater”, the principal thing in the subsequent menu. From here you can download a wide assortment of centers. Look through the menu and download however many centers as you like. Centers are arranged by the frameworks they copy, so download something to run your games as a whole
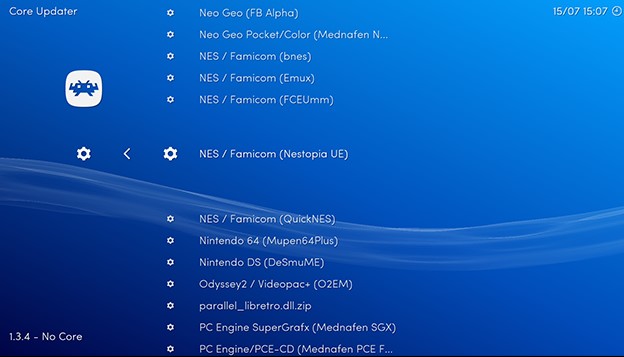
In case you don’t know which center to decide for a specific framework, relax, you can investigate to discover which centers work best later. Generally, notwithstanding, they ought to be comparable, so for the time being pick one.
Step Four: Add Your ROM Collection
Since you’ve added a few centers, it’s an ideal opportunity to add your ROMs. We’ll expect you as of now have an assortment of ROMs for the motivations behind this guide.RetroArch can filter an organizer loaded with ROMs and coordinate them for you. From the fundamental menu, head to “Add Content”. Pick “Sweep Directory”, then, at that point, peruse your document framework until you discover your envelope brimming with ROMs. Yellow text at the lower part of the screen will show you your advancement. Whenever everything is done, go to the home screen and you’ll see another symbol: the regulators for every framework you’ve added rooms for. Utilize the right bolt key to get to these menus and peruse the games.
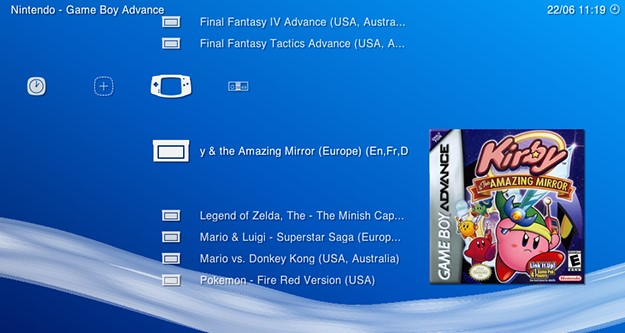
From here you can peruse your game assortment. Attempt to open any of them, and you’ll be asked which center you need to run the game with. Pick one, and you’ll at long last be brought to a screen from which you can run the game.

Congrats! You’ve presently got a beautiful cool imitating arrangement that you can handle from your love seat. Get to playing!
Step Five: Keep Tweaking, If You Want To
Extremely observant perusers no question saw the thumbnails displayed in the above advance. You can discover these thumbnails in the “Online Updater” area where you downloaded centers, under “Thumbnails Updater”. Simply select the frameworks you’ve added ROMs for and you have thumbnails prepared into the interface.
As a matter of fact, while you’re in the Online Updater, you should refresh the center data documents, the resources, and all the other things. It’s simply an issue of looking down the rundown and choosing everything.
Force clients ought to likewise look at the “Settings” tab, where you’ll discover the Video, Audio, and an assortment of different settings. You don’t need to go in and change this stuff, however power clients will adore making a plunge and making all that work perfectly. This discussion string, for instance, has incredible settings for the ideal NES and SNES experience. Look at our manual for RetroArch’s high-level components on the off chance that you truly need to get the best insight.