Windows 10 naturally introduces refreshes behind the scenes. More often than not, this is acceptable, yet once in a while, you’ll get an update that breaks things. All things considered, you’ll need to uninstall that specific update.
Windows 10 is more forceful with regards to refreshing than past forms. Generally, this is acceptable, since an excessive number of individuals never tried introducing refreshes—even basic security refreshes. All things considered, there are bunches of PCs and setups out there, and an infrequent refresh that messes up your framework can fall through. There are a few different ways you can keep terrible updates from demolishing your day. You can forestall specific kinds of updates so they don’t download consequently. Also, as of the Creators Update in Spring of 2017, you can undoubtedly stop or concede non-basic updates for a month or more while different clients test them out.
Sadly, neither of these methodologies helps on the off chance that you’ve as of now downloaded and introduced an update that broke something. This turns out to be considerably more troublesome if that update is a significant new Windows fabricate, similar to the Fall Creators Update delivered in September 2017. Fortunately, Windows gives away to uninstall significant form refreshes and the more modest, more common, Windows refreshes.
Uninstall Major Build Updates
There are two unique sorts of updates in Windows 10. Besides customary patches, Microsoft sometimes delivers greater “forms” of Windows 10. The primary significant update to Windows 10 delivered was the November Update in November 2015, which made it rendition 1511. The Fall Creators Update, which was delivered in September 2017, is from 1709.
Subsequent to introducing a significant new form, Windows keeps the documents important to uninstall the new form and return to your past one. The catch is that those records are just kept around for about a month. Following 10 days, Windows naturally erases the records, and you can presently don’t move back to the past variant without doing a re-establishment.
Note: Rolling back a form additionally works in case you’re important for the Windows Insider Program and you’re helping test new, unsound review works of Windows 10. In the event that a form you introduce is excessively temperamental, you can move back to the one you were formerly utilizing.
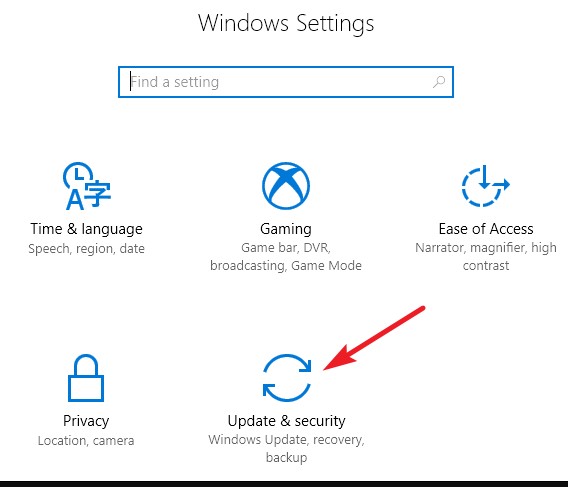
To move back a form, hit Windows+I to open the Settings application and afterward click the “Update and security” alternative.
On the “Update and security” screen, change to the “Recuperation” tab, and afterwards click the “Begin” button under the “Return to a previous form” area.
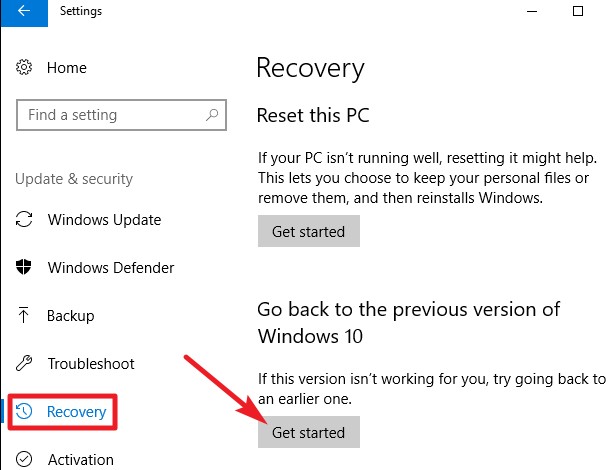
In the event that you don’t see the “Return to a previous form” segment, it’s been over 10 days since you moved up to the current form and Windows has cleaned up those documents. It’s likewise conceivable that you ran the Disk Cleanup apparatus and chose the “Past Windows installation(s)” documents for expulsion. Fabricates are dealt with basically like new forms of Windows, which is the reason you uninstall a form similarly you’d uninstall Windows 10 and return to Windows 8.1 or 7. You’d need to reinstall Windows 10 or reestablish your PC from a full-framework reinforcement to return to a past form after those 10 days are up.
Additionally, note that moving back a form isn’t any approach to quit future new forms for all time. Windows 10 will consequently download and introduce the following significant form that is delivered. In case you’re utilizing the steady form of Windows 10, that might be a couple of months away. In case you’re utilizing the Insider Preview assembles, you’ll probably get another form significantly earlier.
Uninstall Typical Windows Updates
You can likewise uninstall the normal, more minor updates that Microsoft reliably carries out—similarly as you could in past forms of Windows.
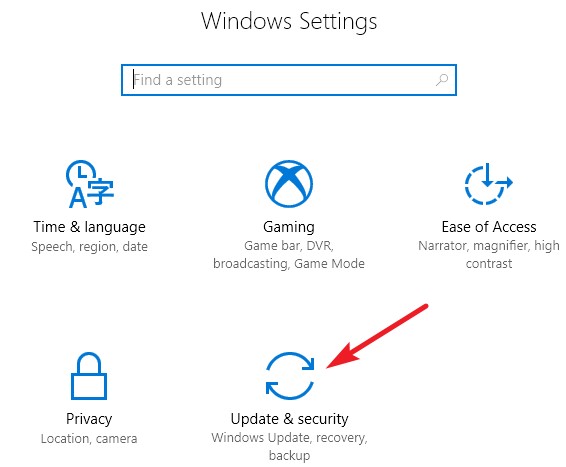
To do this, hit Windows+I to open the Settings application and afterwards click the “Update and security” choice.
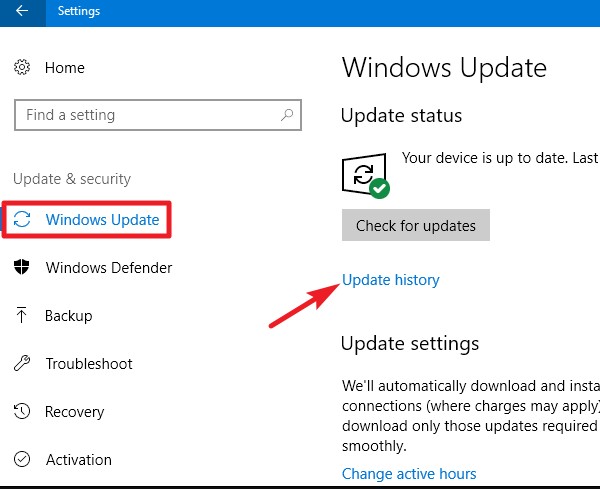
On the “Update and security” screen, change to the “Windows Update” tab, and afterwards click the “Update history” interface.
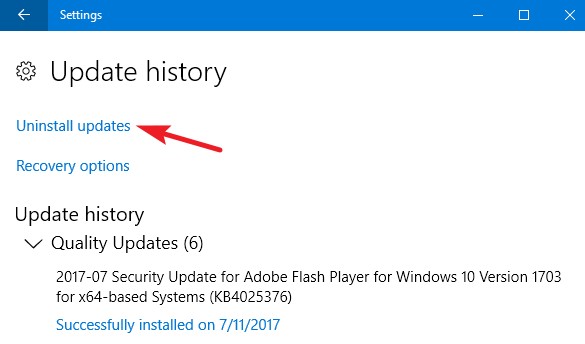
On the “View your update history” screen, click the “Uninstall refreshes” interface.
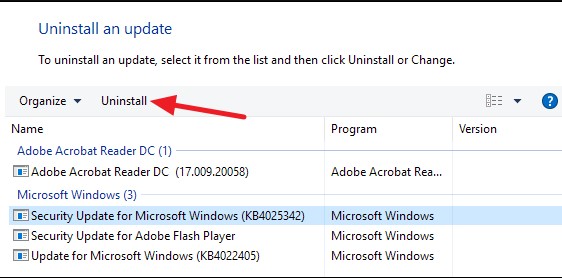
Then, you’ll see the recognizable interface for uninstalling programs showing a past filled with late updates arranged by establishment date. You can utilize the pursuit box at the upper right corner of the window to look for a particular update by its KB number, in the event that you know the specific number of the update you need to uninstall. Select the update you need to eliminate, and afterwards click the “Uninstall” button.
Do take note of that this rundown just permits you to eliminate refreshes that Windows has introduced since introducing the past “form”. Each form is a new record to which new minor updates are applied. Likewise, it’s absolutely impossible to keep away from a specific update perpetually, as it will ultimately be moved into the following significant form of Windows 10.
To keep a minor update from reinstalling itself, you might need to download Microsoft’s “Show or conceal refreshes” investigator and “square” the update from naturally downloading later on. This shouldn’t be fundamental, however, we’re not totally sure if Windows 10 will ultimately attempt to re-download and introduce refreshes you’ve physically uninstalled. Indeed, even the “Show or conceal refreshes” investigator can as it were “briefly forestall” this, as per Microsoft.
Windows 10’s updates ought to ideally be more steady than any other time in recent memory because of the new Insider Program that permits individuals to test refreshes before they carry out to the majority, however, you might find that uninstalling a dangerous update and sitting tight for a decent one becomes important sooner or later.