Introduction
Setting up react native push notifications in ios apps is very simple. If you are looking for guidance for installing react native push notifications then read this blog till the end.
What Are Push Notifications
You might think that you know it. Probably yes. Because push notifications are very used in every sector whether it is banks or firms.
These notifications are short pop-up messages that appear on a user’s mobile device. It is sent by the browser directly on the screen of the mobile.
Push notifications are a perfect solution to re-engage users.
If you are a newbie and want to know how to set up react native push notifications, this blog is for you. Keep reading it.
How To Set Up React Native Push Notifications On iPhone Apps
The installation process involves four steps. This process is covered in 15 minutes.
Preconditions:
1-NodeJs, v8.3 or ulterior
2-React Native
React native >= 0.61.5
3-An iOS devices such as an iPad or iPhone
4-An iOS Push certificate.
5-X Code
* If you do not have an account on Wonderpush, Create a free account on wonderpush.com
Now we have four steps that you need to follow:
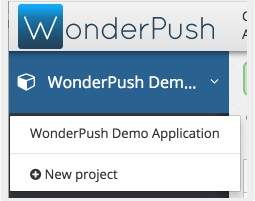
Step 1
Click On New Project:
Select a name for your project and iOS as the platform then click Create
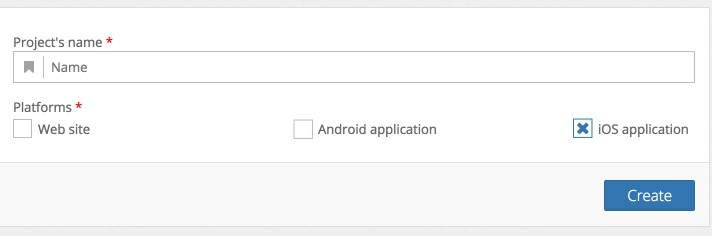
# If you have a project already, just add iOS as a platform to any existing project by going to settings, choosing the first tab named after your project and clicking Edit. A form will be shown that lets you add a platform.
STEP 2
Setup Your Push Credentials
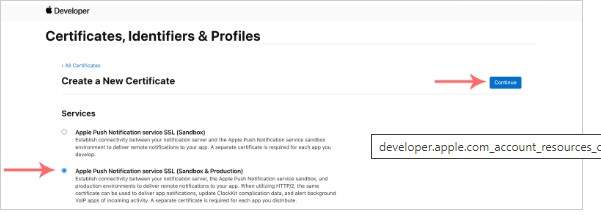
Open Apple Developer Website, go to Accounts, then certificates, Identifiers, and Profiles and Click the ( + ) button to add a new certificate.
Select the type Apple Push Notification Service SSL (Sandbox & Production).
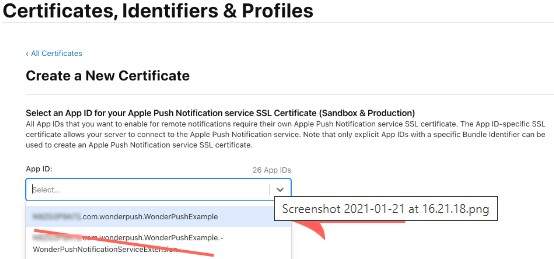
Following this, select your app ID.
( Make sure, do not to use the app ID for the notification service extension).
Follow the rest of the wizard to download your certificate, and open it. So, it displays in Keychain access.
Now, we have to export it along with its private key prior to uploading them to the Wonderpush dashboard.
- Launch Keychain Access on the Mac where you created the certificate request.
- Choose “ My Certificates” in the Category section.
- Locate a newly created certificate and expand its content by clicking on the triangle icon. A private key and a certificate will be shown to you.
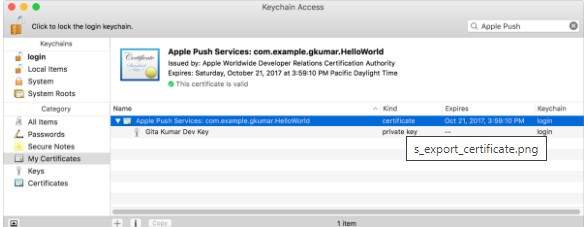
- Select both the key and the certificate.
- Choose File> Export Items.
- From the file pop-up menu, ensure P12 is chosen.
- Enter a file name in the Save as a field, then click Save.
( The certificate and the key are saved to the location you have allotted as a .p12 file.)
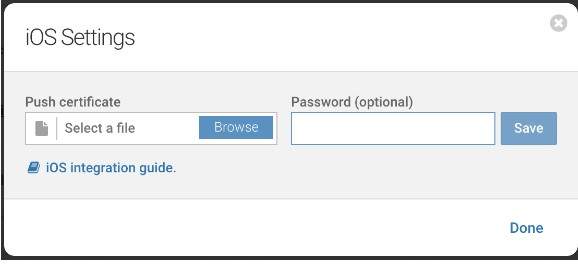
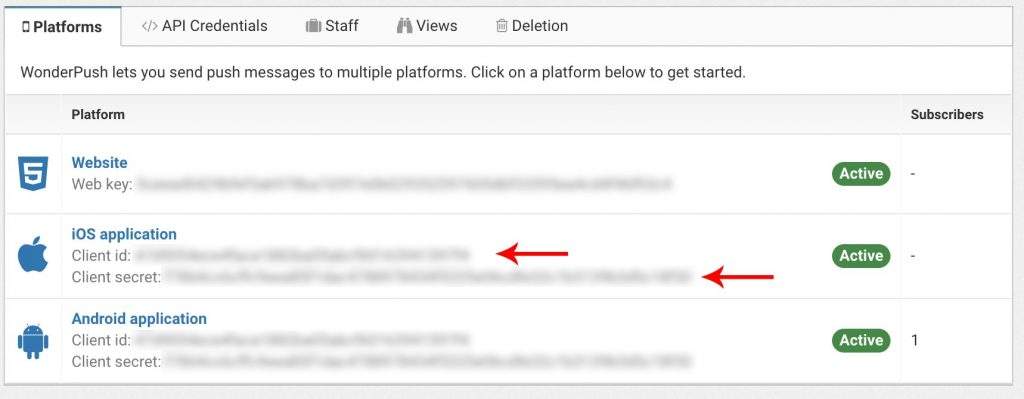
Go to platforms and select the iOS application title and fill in”
- Your push certificate by selecting the browse button
- The push certificate password ( optional).
STEP 3
Add The SDK
Create your React native application if you have not already, just follow the official React Native guide and click React Native QuickStart CLI.
Add the Wonderpush React native SDK,
npm install react-native-wonder-push – -save
Npm install react-native-wonderpush-fcm – – save
Link the Wonderpush React Native SDK
react-native link react-native-wonderpush
React-native link react-native-wonderpush-fcm
Add push entitlement, background mode, and service extension.
Open the xcworkspace file of your project in Xcode:
Open ios/*.xcworkspace
Add device capabilities
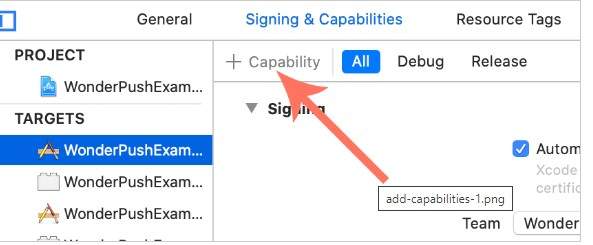
Select your app’s main target and under the Signing and Capabilities tab, click “ +capability “.
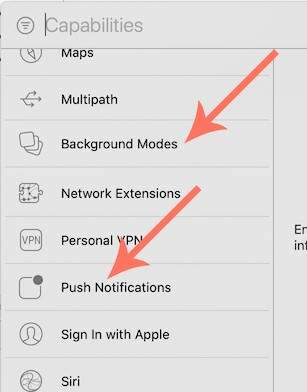
Add the capabilities:
1. Background Modes,
- Push Notifications
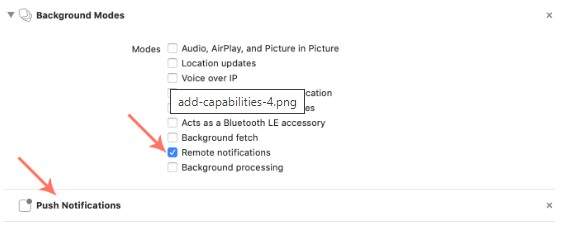
Make sure the Remote notifications mode is checked.
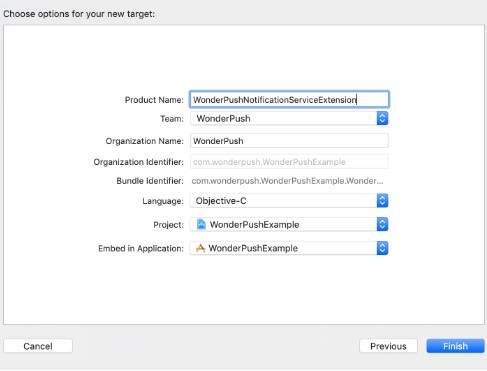
Create the notification service extension.
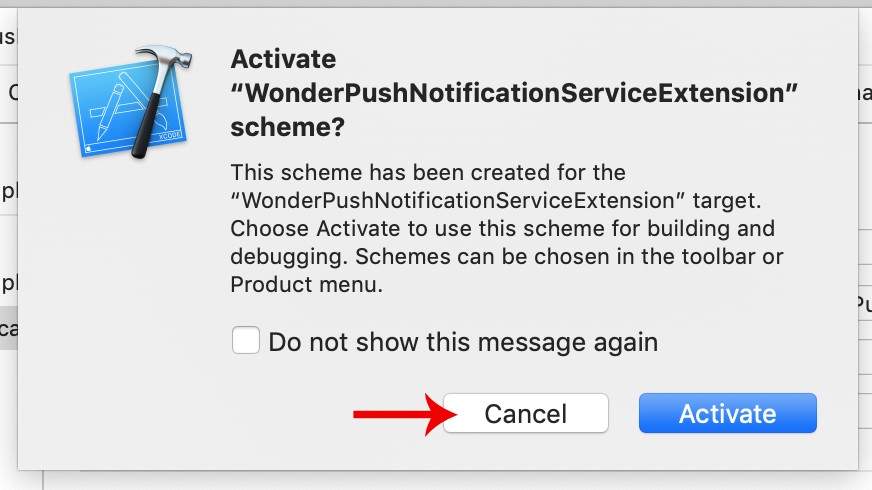
In Xcode, choose File/New/Target.. And choose Notifications Service Extension.
Enter WonderPushNotificationServiceExtension as the name for your target.
When Xcode prompts you to activate the new scheme, answer “Cancel “ to keep Xcode building and debugging your app instead of an extension.
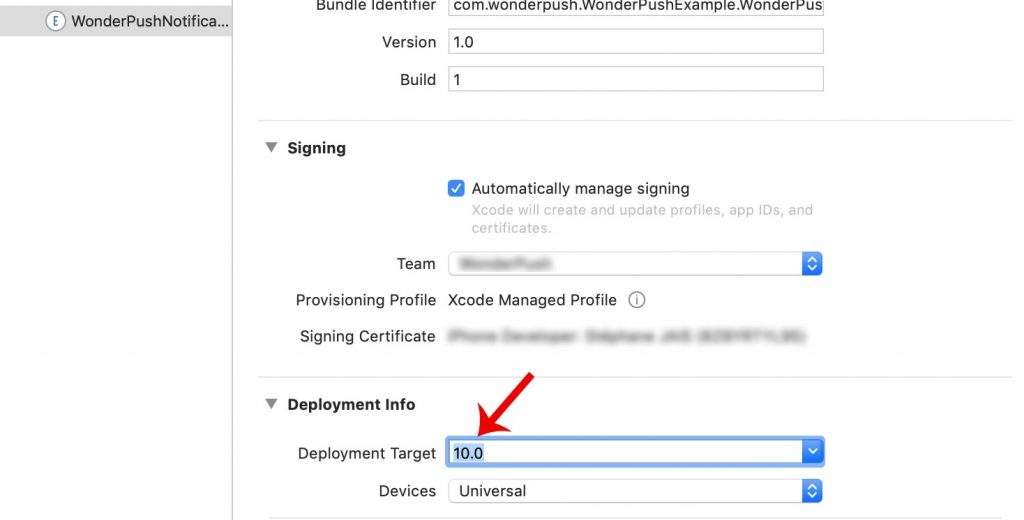
Set the Deployment Target of your Notification Service Extension to 10.0:
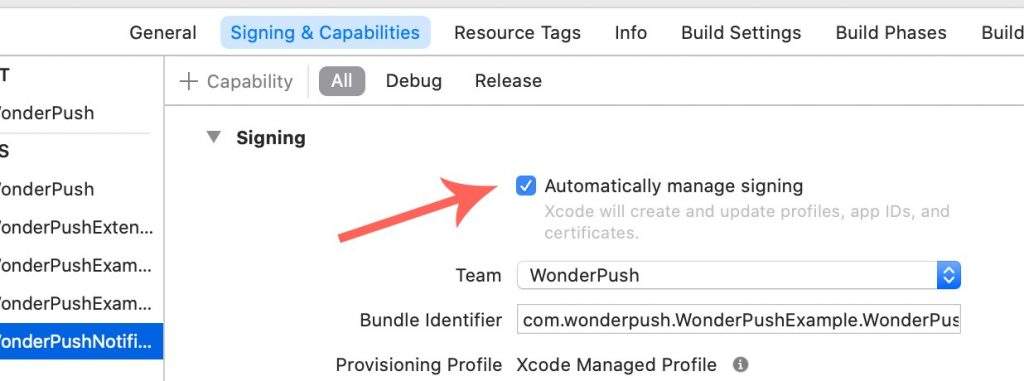
Use Automatic Signing for the extension target:
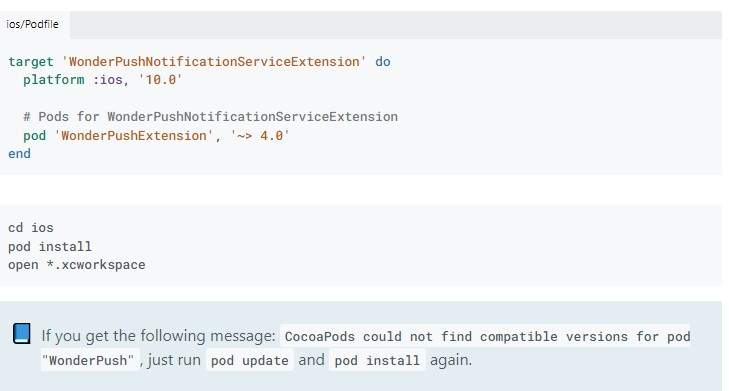
Edit the file ios/Podfile and add the following at the bottom
STEP 4
Add Needed Code
Note down your CLIENT ID and Client SECRET from the platform
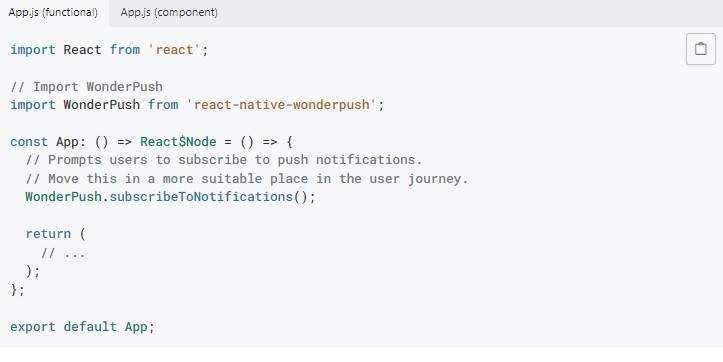
Now, add the code that prompts the user to subscribe to a push notification.
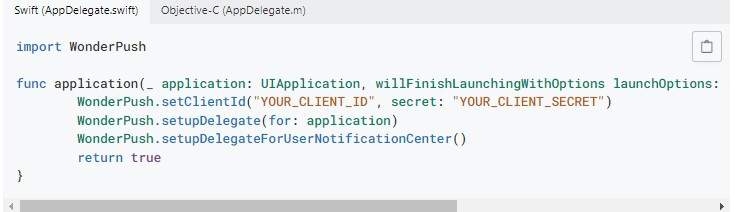
Now open your AppDelegate and add the following, adapting YOU_CLIENT_ID and YOUR_CLIENT_SECRET with the values you have noted above.
Finally, modify the code of the Notification Service Extension you created in Step 3. Replace the whole contents of NotificationService.swift or ( NotificationService.h and NotificationService.m for Objective-C) with:
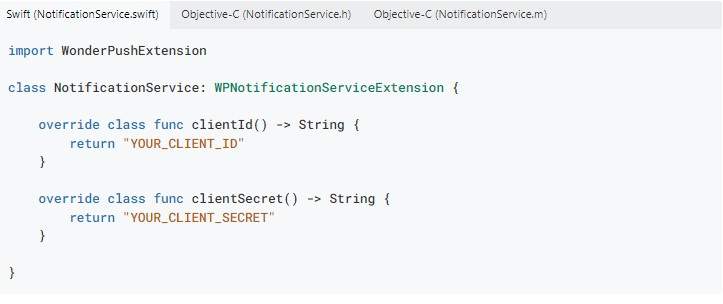
Adapt your CLIENT_ID and YOUR_CLIENT_SECRET with the values you have noted earlier, the same you just gave to your AppDelegate.
Now, clean your project by choosing Product/Clean Build Folder in Xcode or by running:
Now, your first Push Notification is ready.
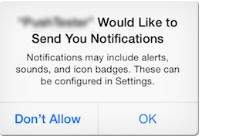
Use XCode to build and run your application. Get the permission prompt you have configured.
Hang on for a few minutes. And receive the default welcome notification.

Final Words
With the above discussion, you know the steps of implementing React native push notifications in iOS apps. The wonderpush allows you to send push notifications in a timely manner. Get started to create React native push notifications with Wonderpush.
Author Bio:
Wonderpush provides you with one of the best Push notification services. It doesn’t matter whether you are looking for WordPress, Android, iOS, or React Native push notifications. Wonderpush provides all of these and more to take your business to the next level.